Installation Guide
For Acouwood 270 & Acouwood 60
You will need this:
To install the panels, you need the following:
- A saw – either a circular saw, jigsaw or handsaw if the panels need to be trimmed
- A screwdriver
- Ruler or measuring tape
- Pencil
Choose one of the installation methods below:
For wall installation with screws:
- Black plasterboard screws about 35 mm to mounting the panels to the wall (15 screws per panel)
- Small screws about 15 mm for securing the slats when cutting the panels (optional)
For wall installation with glue:
- Caulking gun
- Liquid nails 320ml (about 1/2 a tube per panel)
- Small screws about 15 mm for securing the slats when cutting the panels (optional)
Step 1: Prepare the wall
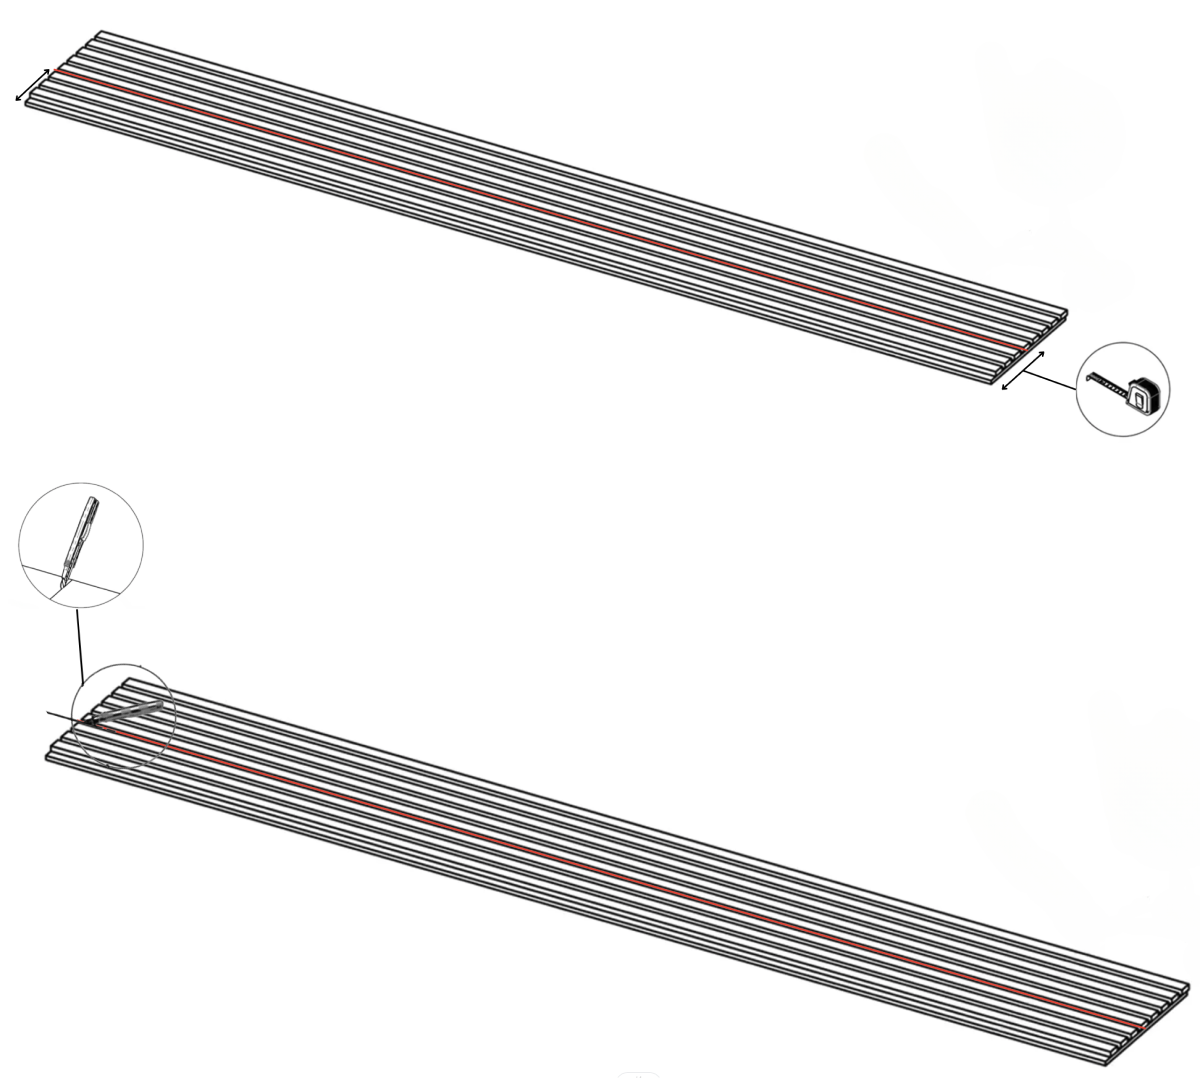
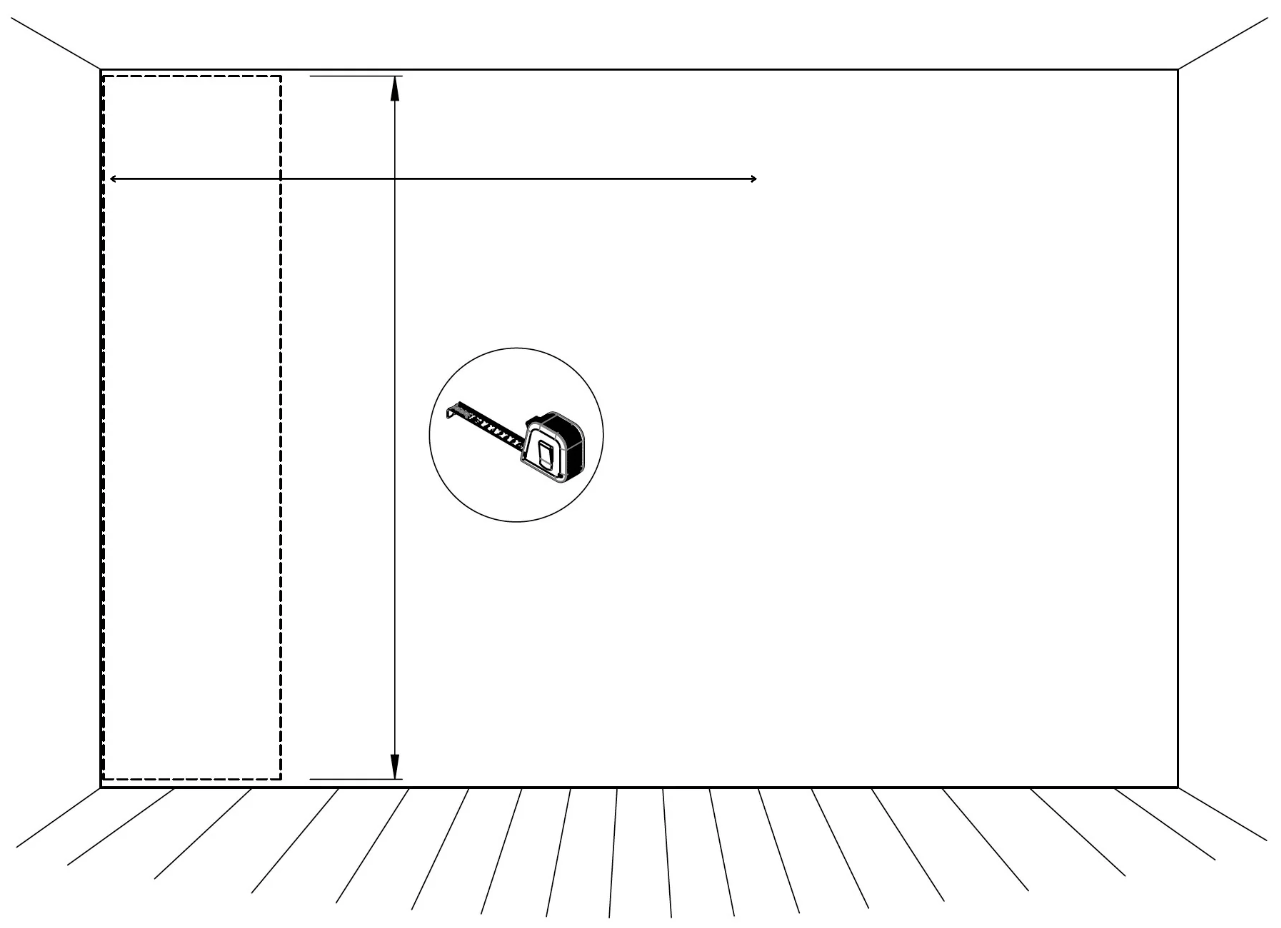
Begin by getting the wall ready. Give it a good wipe with a damp cloth and clear away any screws, nails, or other obstacles to ensure the wall's surface is smooth. Afterward, you can take measurements and mark the spots where you intend to mount the panels.
Step 2: Cutting the panels to height
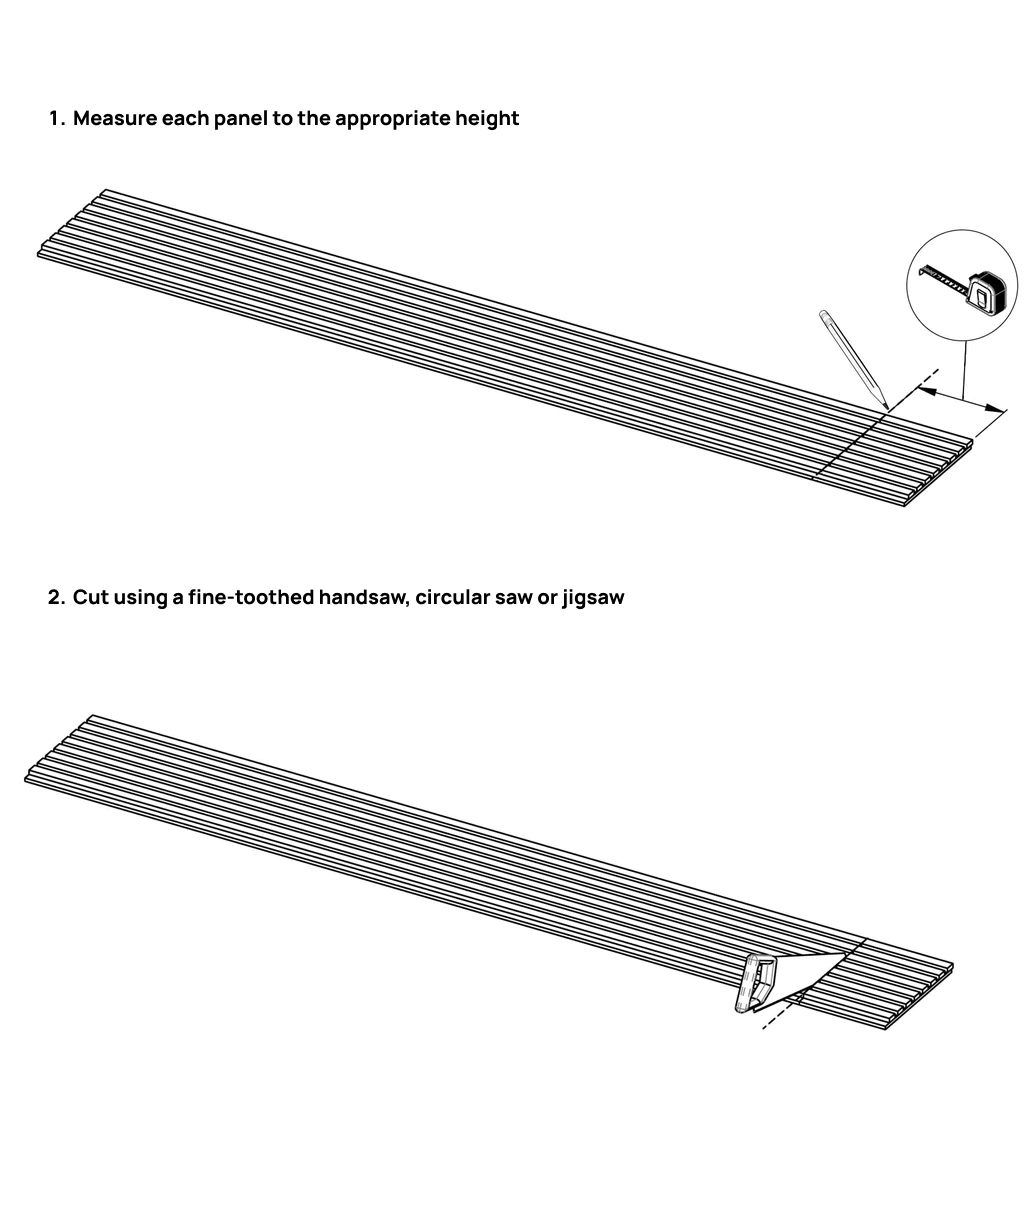
After you've taken measurements of your wall, you'll determine whether your panels need trimming to suit your wall's dimensions. If an adjustment to the panel's height is necessary, you can use either a circular saw, jigsaw or regular handsaw. Use a pencil to mark the cutting line on the panel, ensuring you can make a straight and precise cut.
Remember to screw the slats in place after cutting.
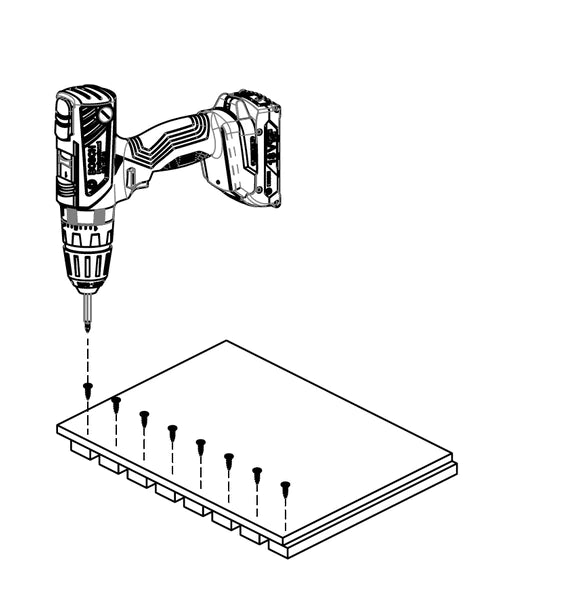
After cutting the panel, screw the ends of the slats back in place (through the back of the panel via the felt and into the slats) using about 15mm screws. Otherwise, the slats won't be fastened and may hang loosely. Repeat through each slat that you've just cut.
Step 3: Mounting the panels
For installation with screws:
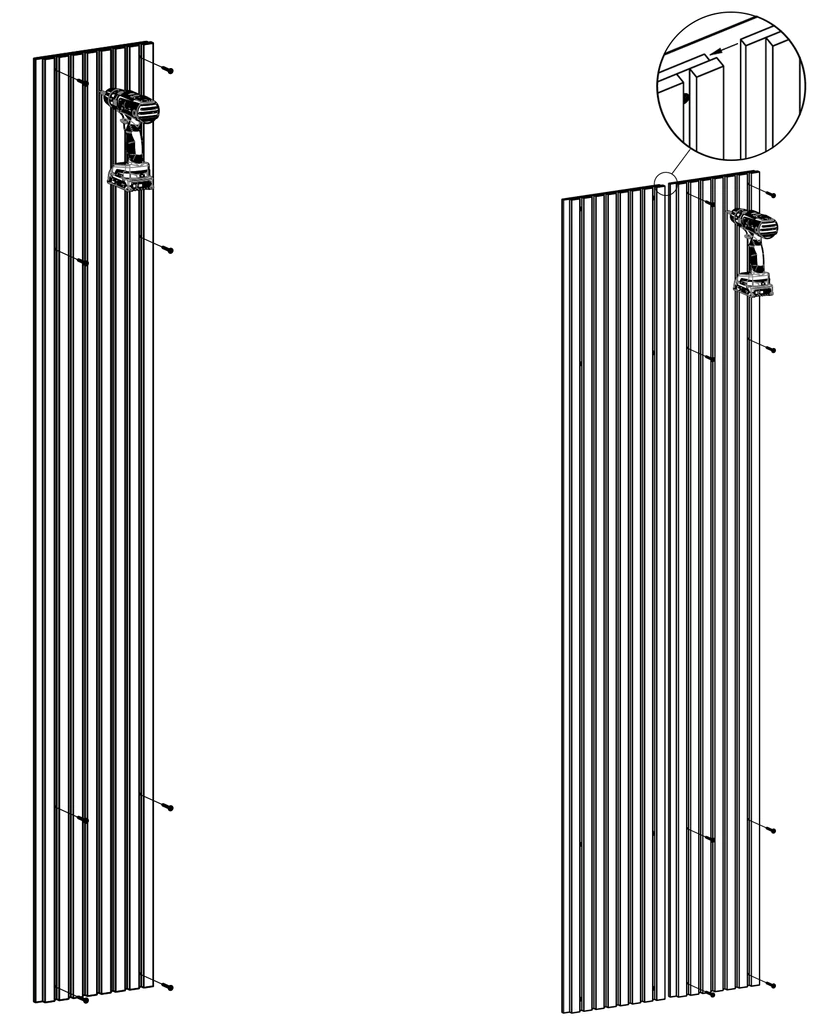
Fasten the panels to the wall by screwing the black plasterboard screw (35 mm) through the black acoustic felt and into the wall.
We recommend 15 screws, spaced evenly, per panel.
Continue with the rest of the panels, mounting them side by side with a snug fit until you reach your final panel.
Note: Do NOT push the panels together completely when mounting side by side. Try to maintain an even gap between the felt.
For installation with glue:
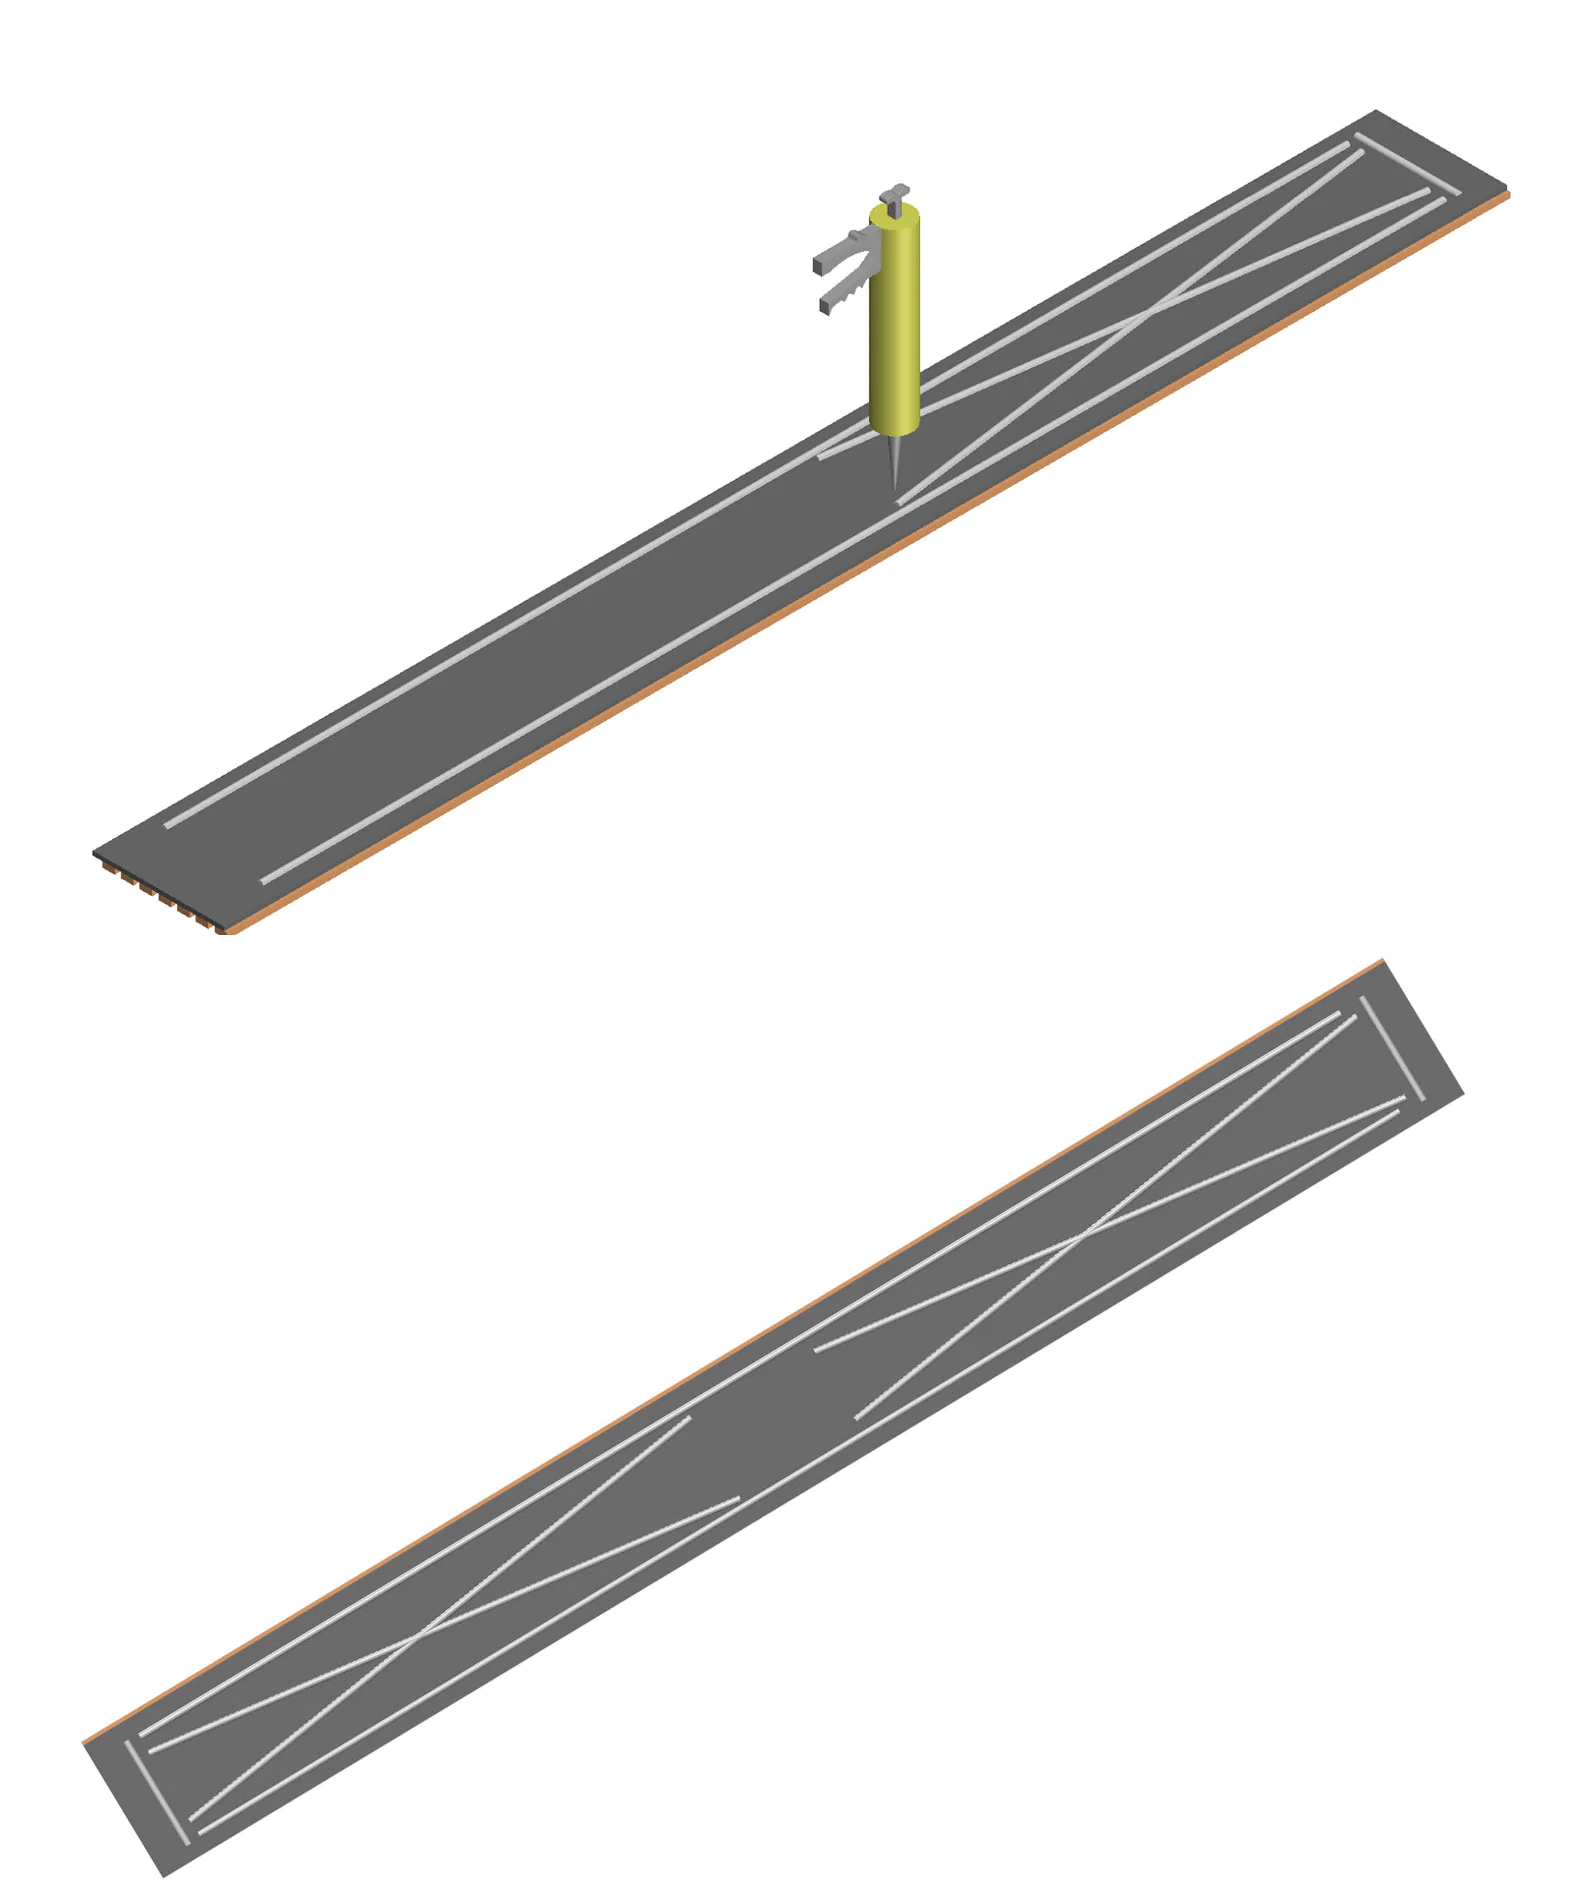
Start by cutting the top off the liquid nails tube and inserting it into the caulking gun. Then distribute the glue evenly on the felt on the back of a panel in a zig zag pattern.
Place the panel against the wall on the previously marked area. Press the panel against the wall over the entire surface with even pressure— ensuring the glue is well distributed across the wall. Maintain pressure for 20-30 seconds to ensure a strong hold.
Tip: Use a spirit level along the way to ensure the panel is installed horizontal (level) to the ground.
Step 4: Cutting the final panel to the correct width
When you reach the end of your wall, you may need to cut the final panel to a shorter width (to avoid overhang).
You can adjust the final panel's width by cutting the felt with a knife.
Then screw or glue the last part of the panel to the wall—the same way you mounted the previous panel.
