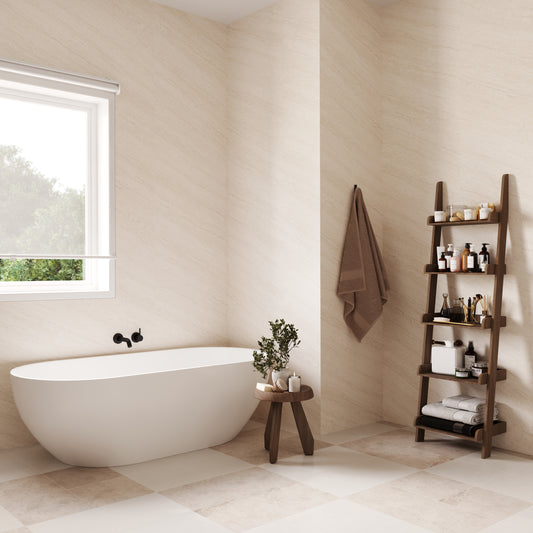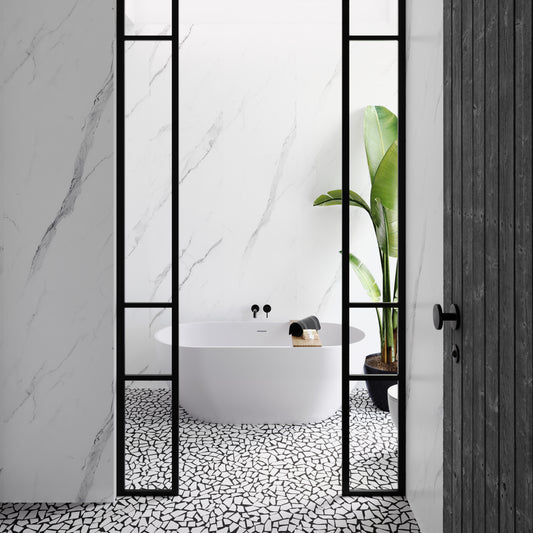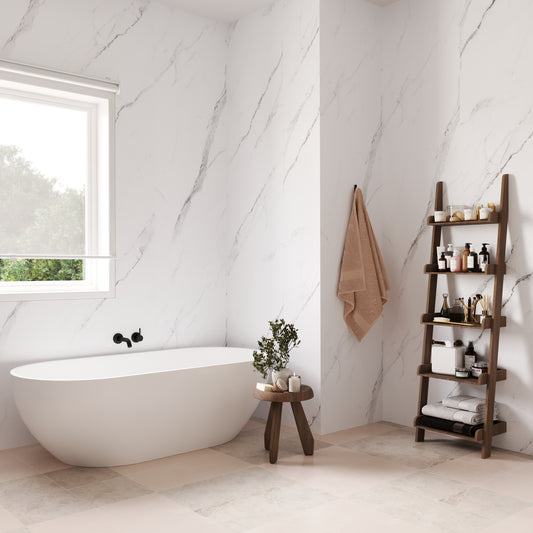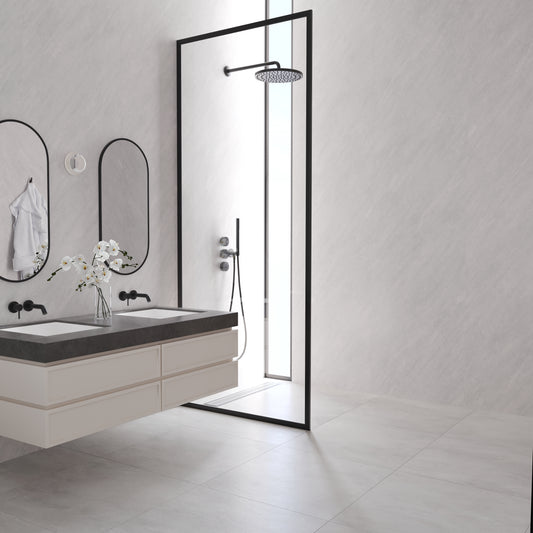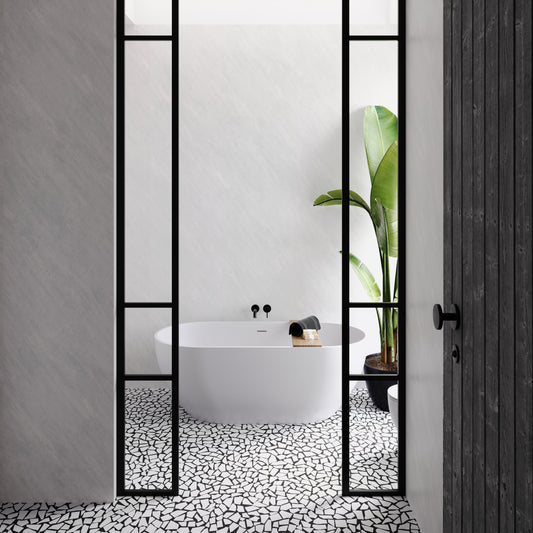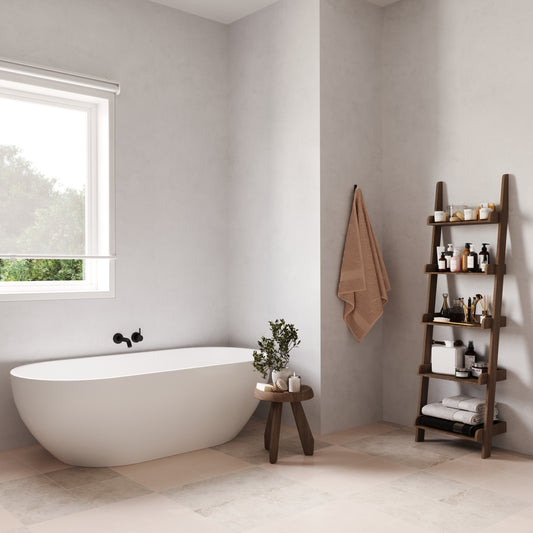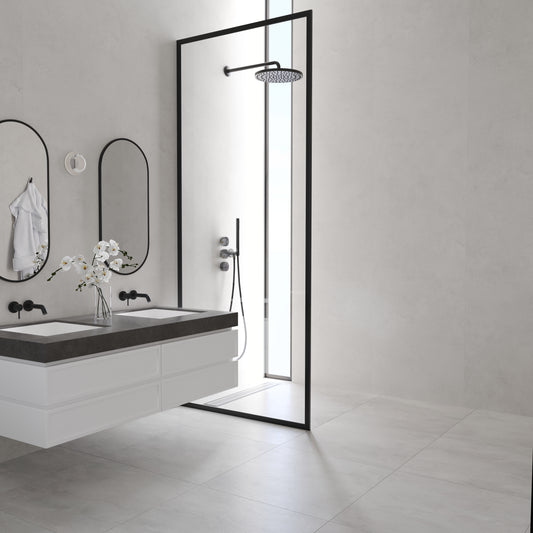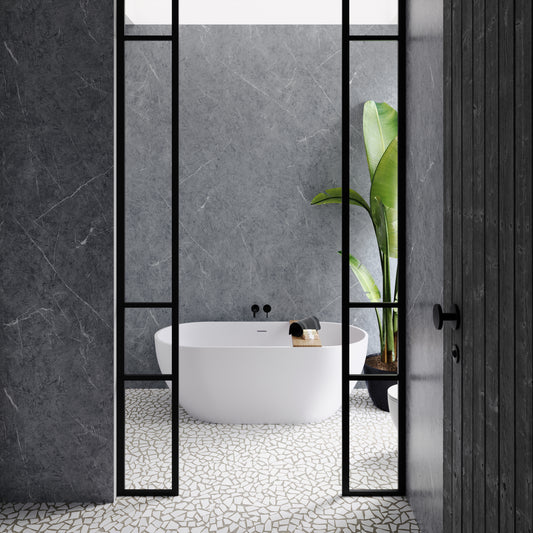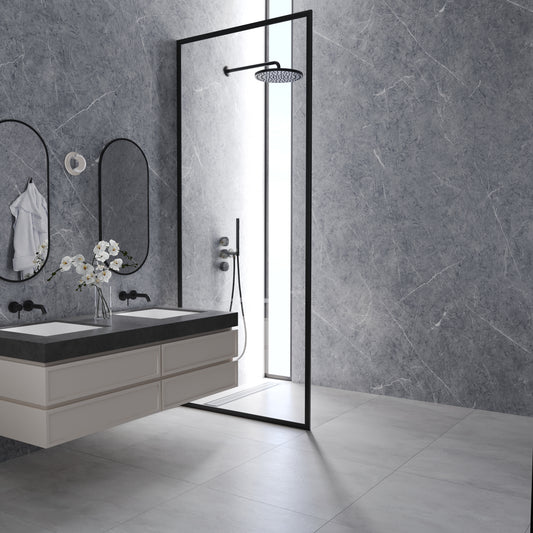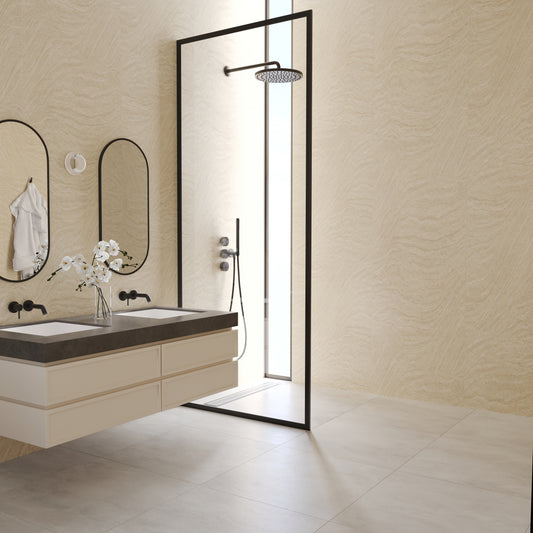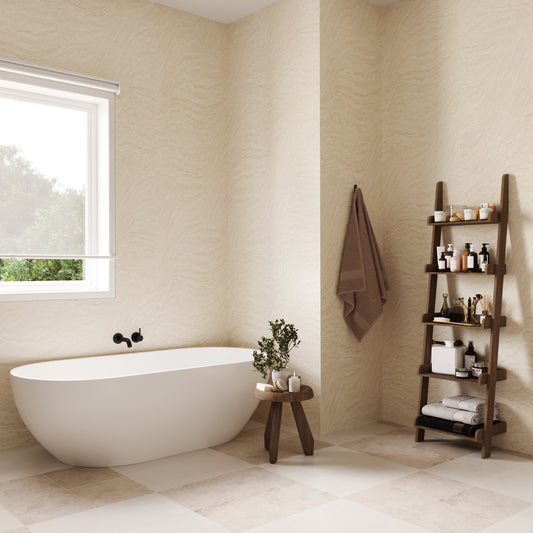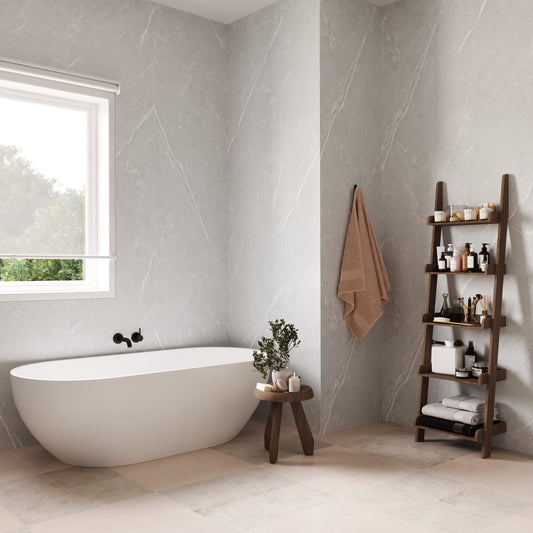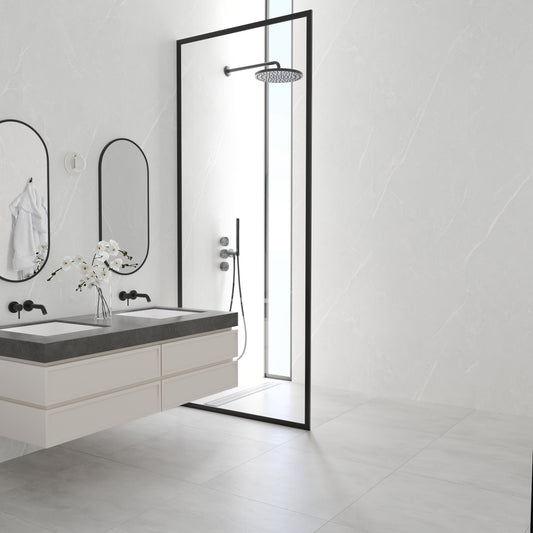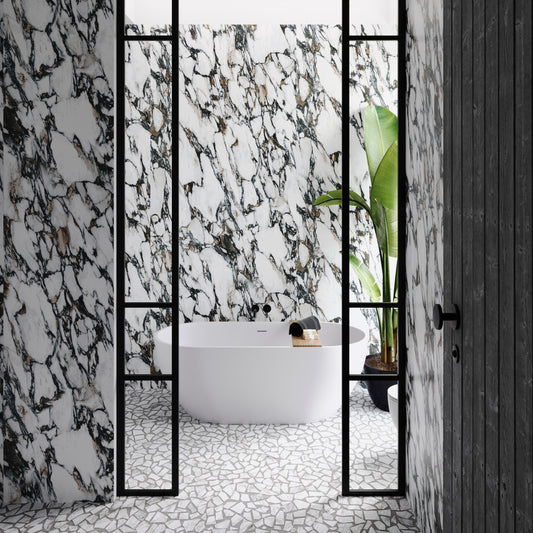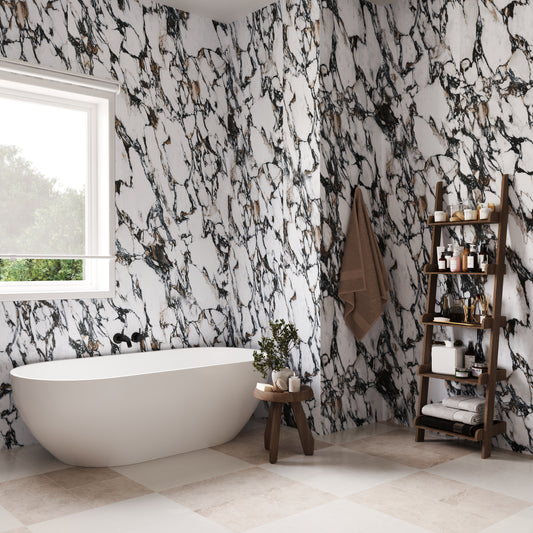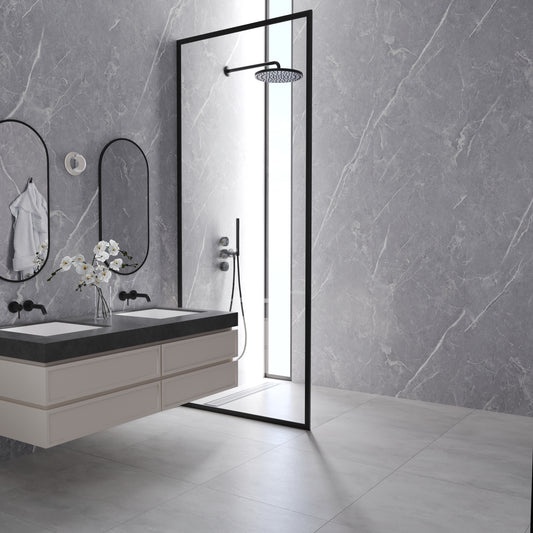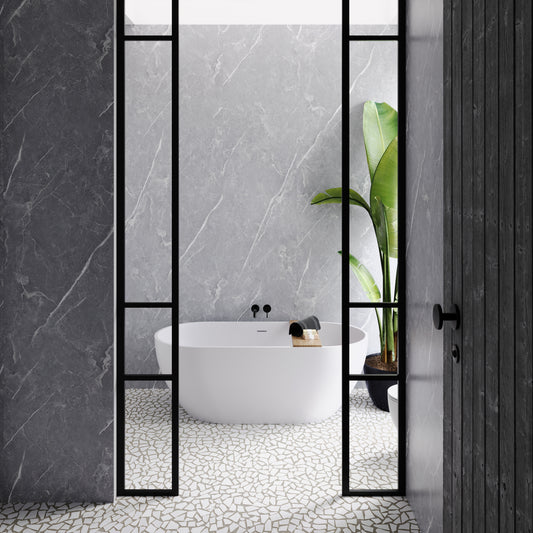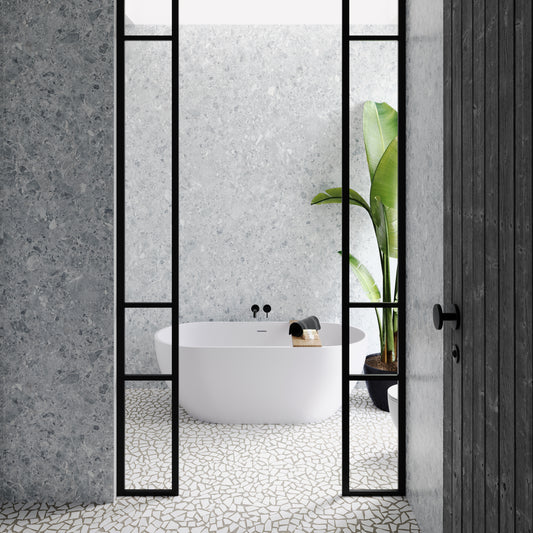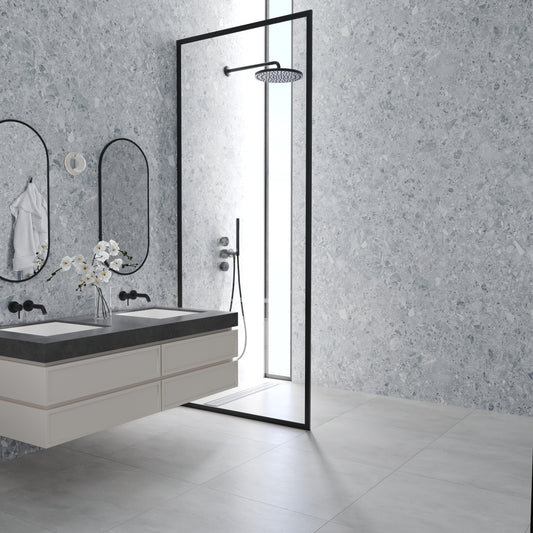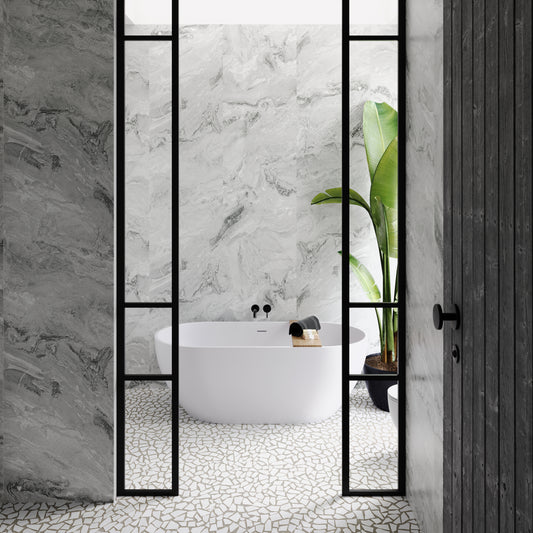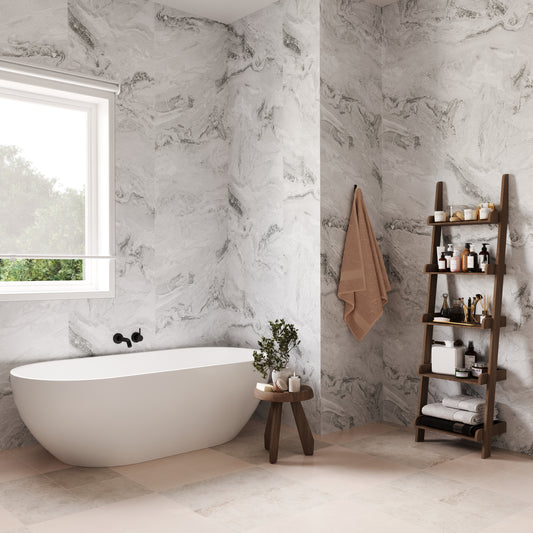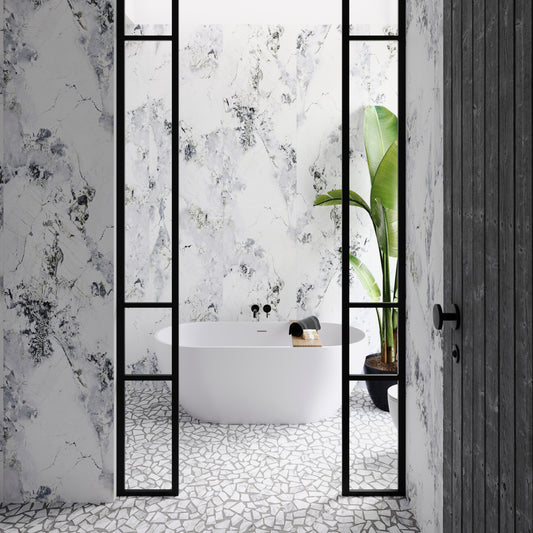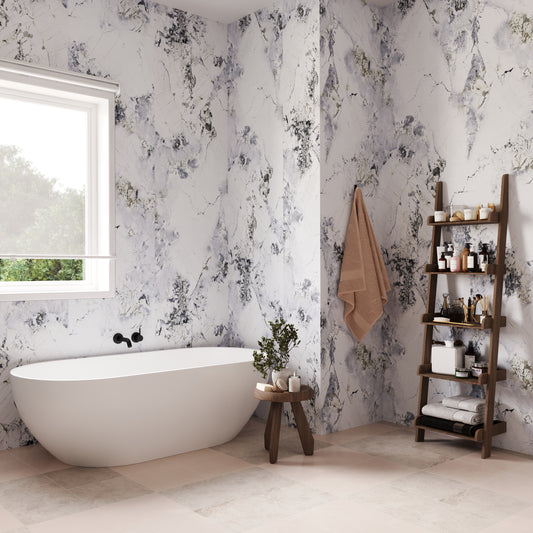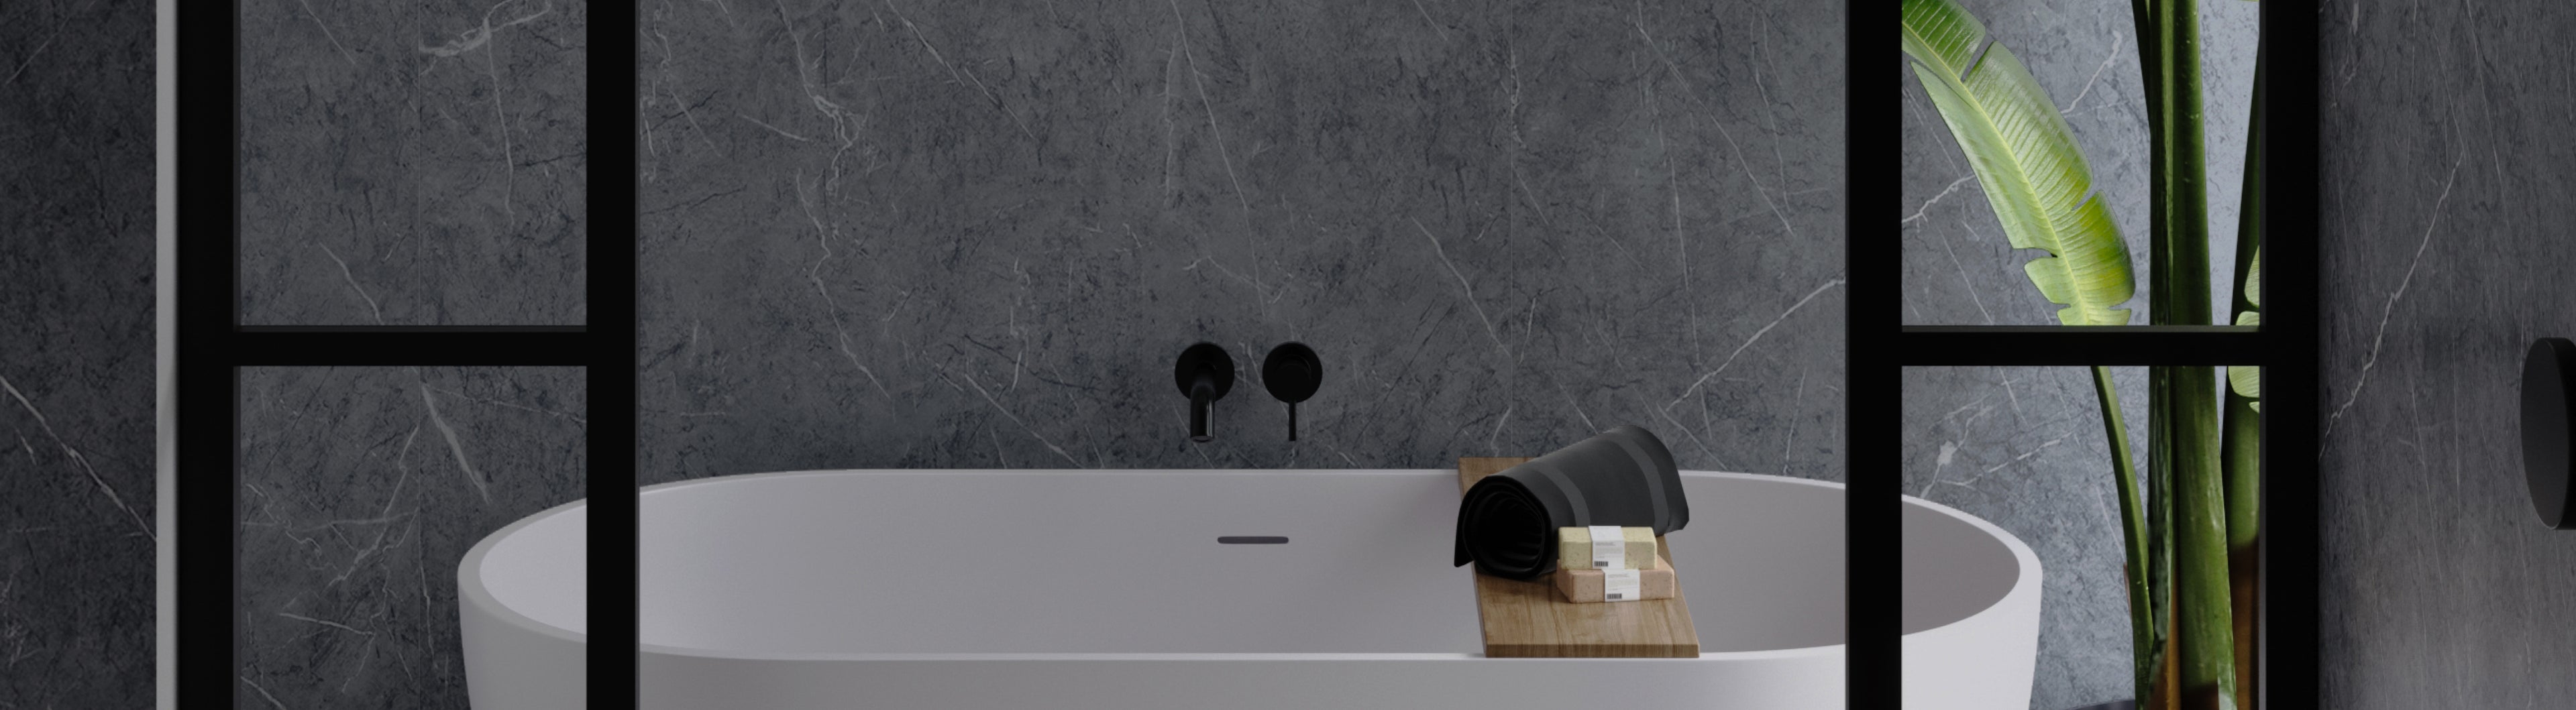
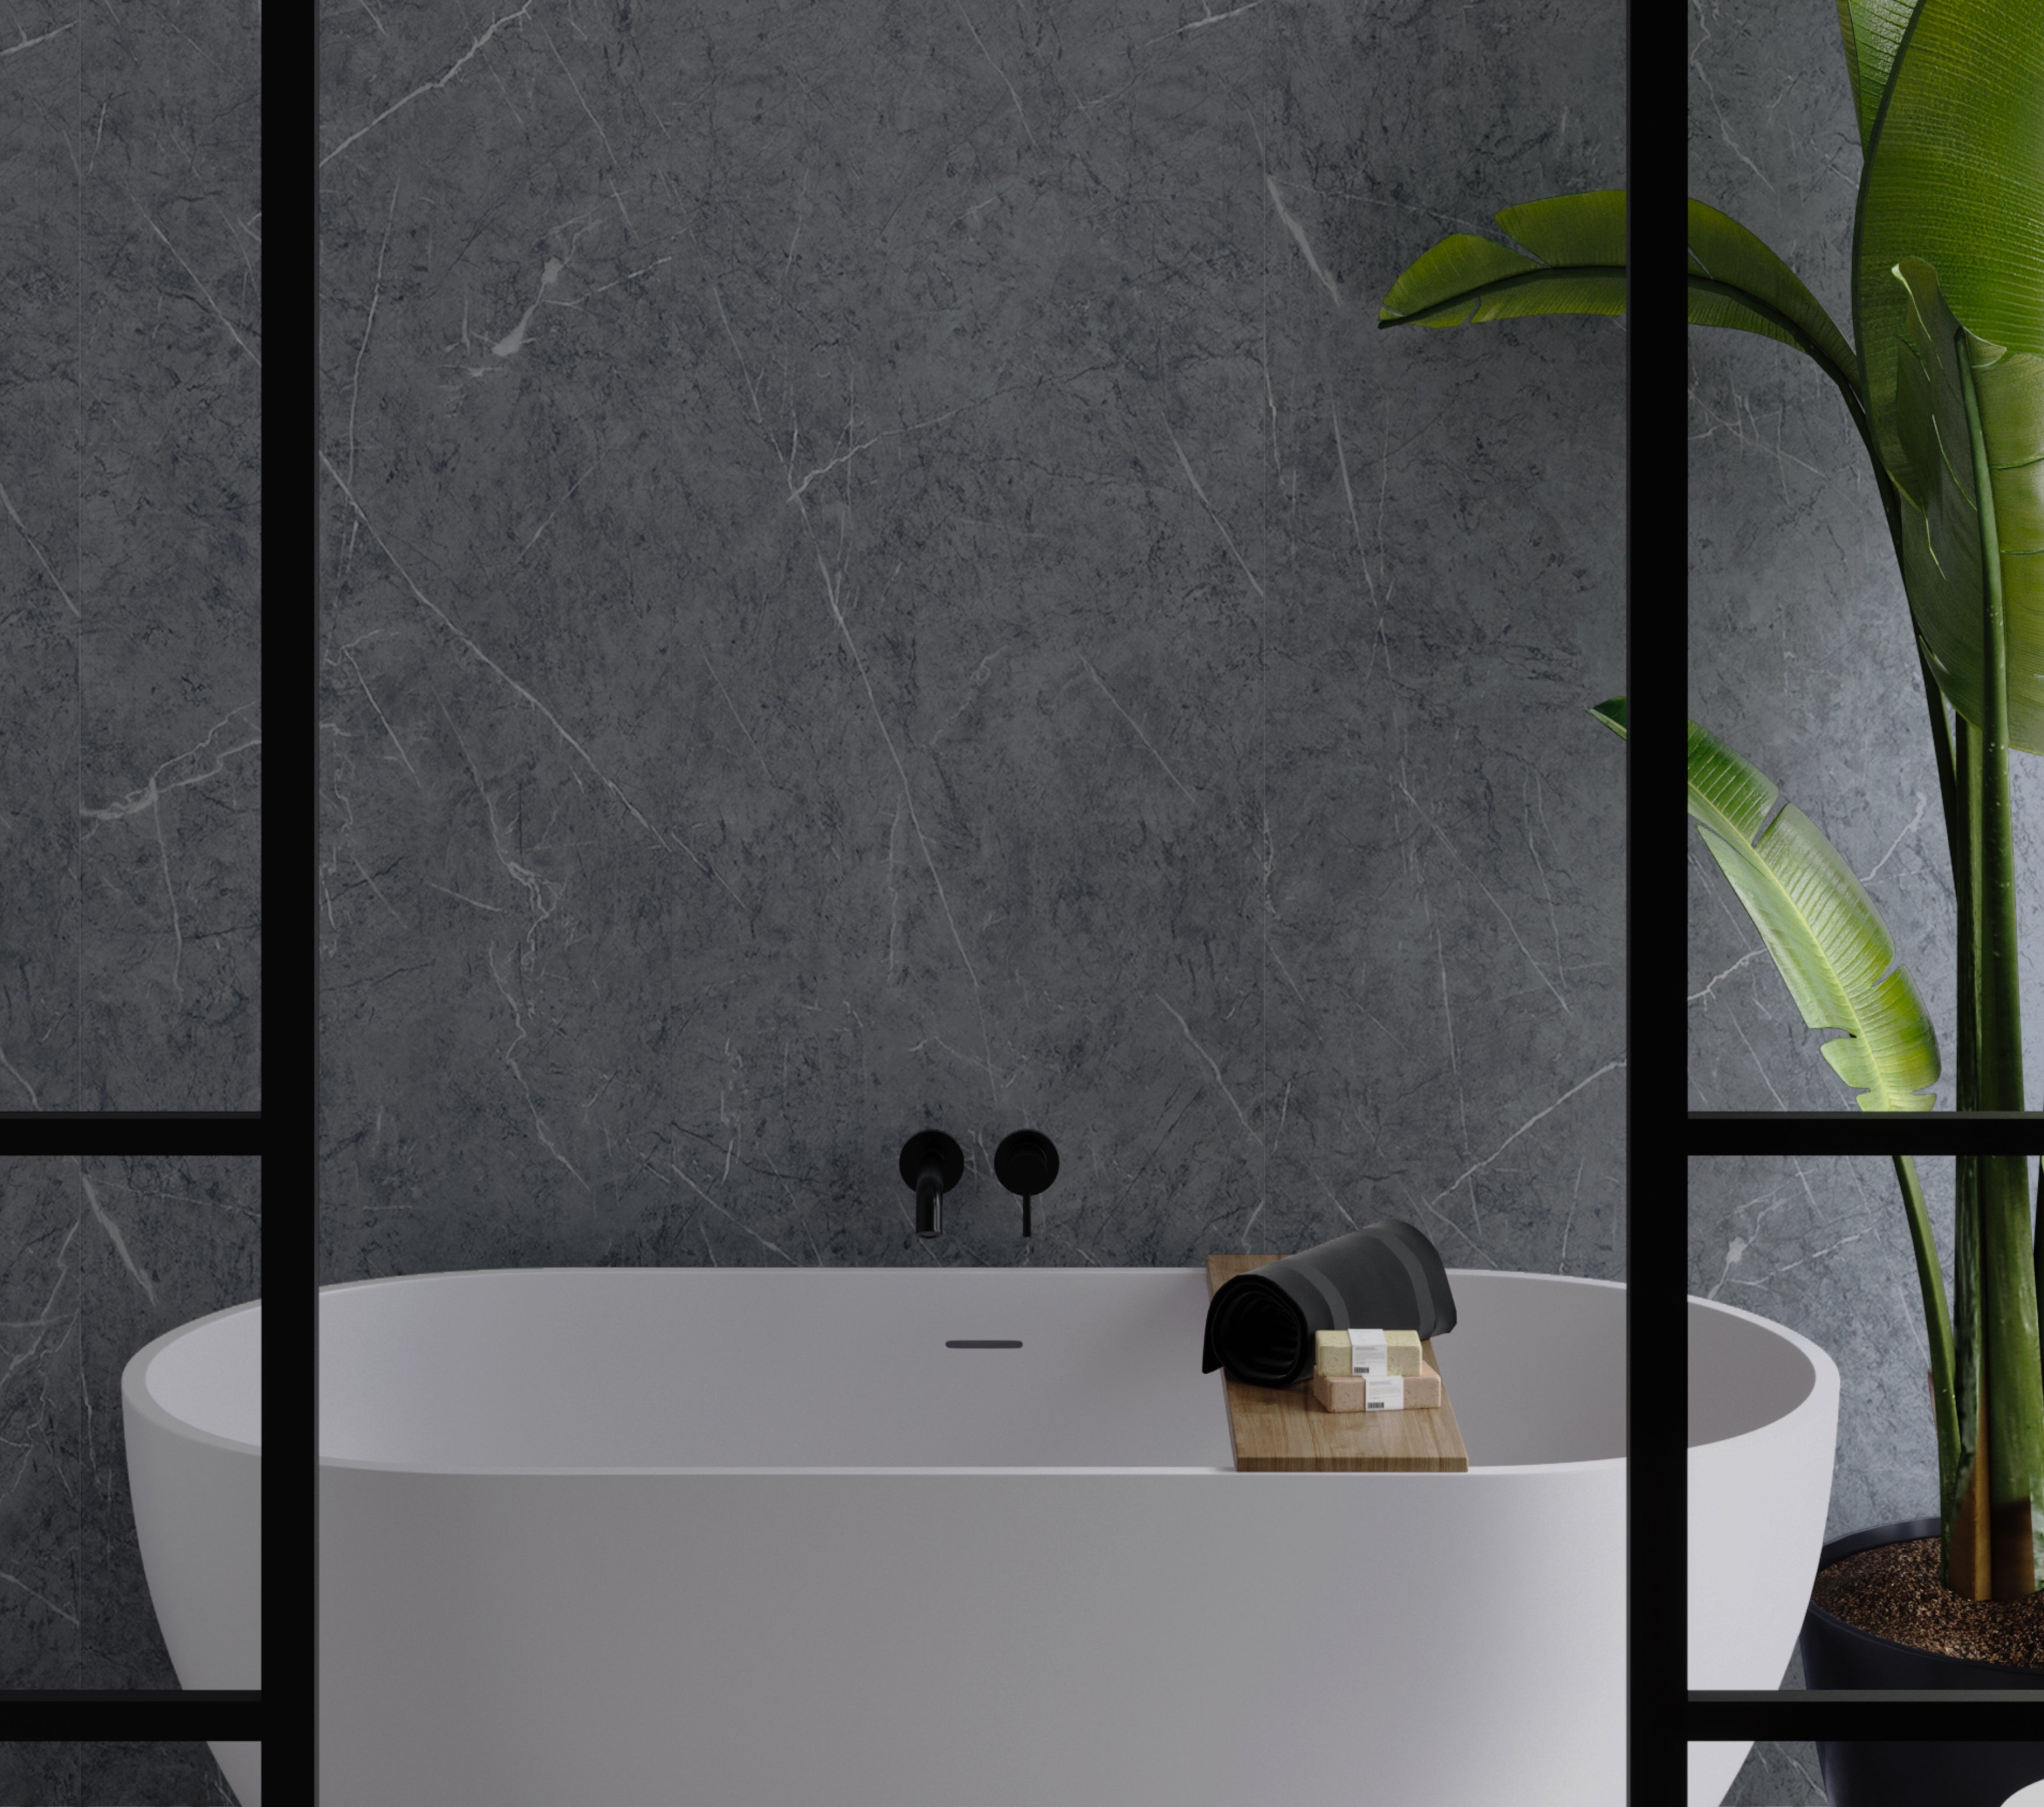
The beautiful and easy to DIY alternative to tiles
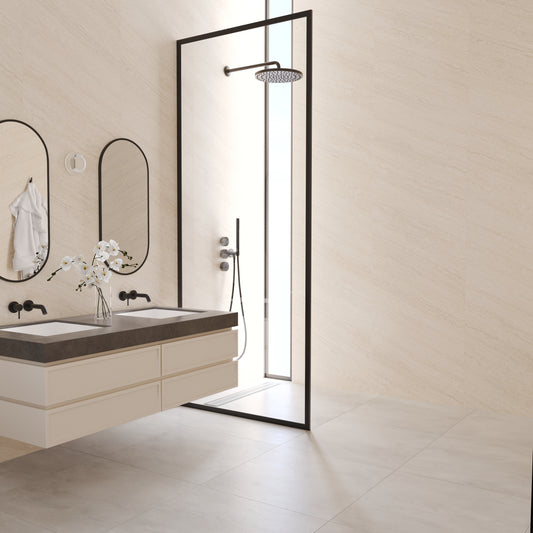
StoneDesign™ panels are 5X faster to install than tiles, whilst being 5X more affordable than stone slabs. They can be installed on existing tiles, plasterboard or most surfaces, and does not require a professional tiler. Easy to DIY - just saw the top to size and glue to the wall with our waterproof Fast-Grab glue.

Read More

Trusted by

Download the Interior Design Wall Styling Guide

A collaboration between Woodspace & interior-design firm Clueless & Co.
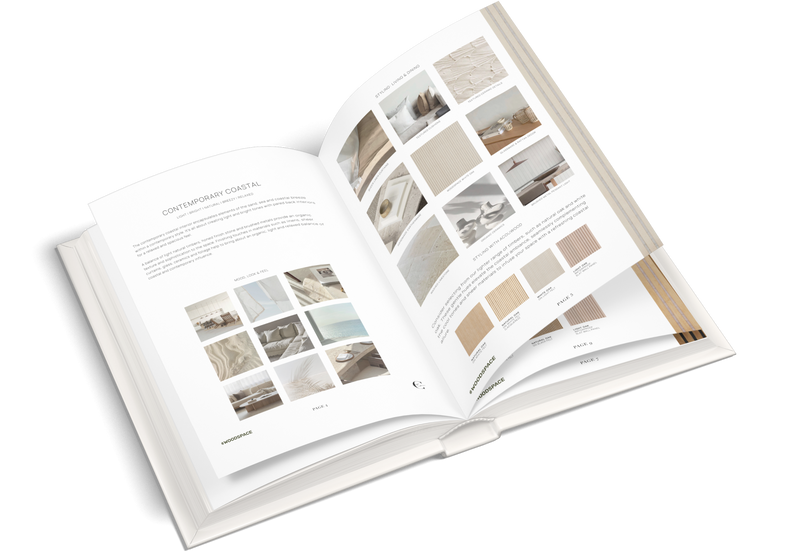
Download the Interior Design Wall Styling Guide

Frequently asked questions

Suitable for Bathrooms and Showers

StoneDesign™ panels are waterproof decorative wall linings suitable for bathrooms, showers, laundries and other splash-prone areas when installed correctly.

In any area where waterproofing is required, including shower enclosures, the panels must be installed over a sound substrate that has already been waterproofed in accordance with the NCC, applicable Australian Standards and local building requirements.

StoneDesign™ panels provide the finished decorative surface and help protect the wall from direct water exposure. However, they do not replace the underlying waterproofing membrane or constitute the waterproofing system.

All panel joints, corners, perimeter edges, wall-to-floor junctions, fixtures and penetrations must be properly sealed with compatible silicone or sealant in accordance with the StoneDesign™ Installation Guide.

Can StoneDesign™ Panels Be Installed Over Existing Tiles?

Yes. StoneDesign™ panels can generally be installed over existing tiles where the tiles are securely bonded, flat, clean, dry and suitable to receive the specified adhesive.

In wet areas, the existing tiles and the waterproofing system behind them must be sound and free from leaks or moisture damage. Installing StoneDesign™ panels over existing tiles does not repair, replace or certify the existing waterproofing system.

Any existing leaks, loose tiles, failed grout, mould, movement or moisture damage must be investigated and rectified before the panels are installed.

Are StoneDesign™ panels waterproof enough for showers and bathrooms?

Yes, StoneDesign panels are a genuinely waterproof decorative surface, right at home in showers, bathrooms, laundries and any other splash-prone corner of the house. One distinction worth understanding: the panel is the finish, not the waterproofing itself. In a shower or anywhere waterproofing is legally required, that membrane behind the wall needs to already be sound and compliant, our panel sits over the top as the beautiful bit everyone sees. The good news on installation: the tongue-and-groove click system seals itself at every join, so you only need to run silicone along the top, bottom and side perimeter of the wall, not between each panel. Get that right and you've got a genuinely low-maintenance, grout-free finish that'll hold up in a wet area for years.

How does StoneDesign™ compare to tiling or real stone slabs, cost and installation-wise?

Think roughly 5 times faster to install than tiles, and about 5 times more affordable than a genuine stone slab, with no tiler, no grout, and none of the heavy lifting real stone demands. Each panel runs 2800mm tall, floor to ceiling in one piece, so you get a clean, uninterrupted stone look with no grout lines chopping it up and nothing to regrout or discolour down the track. You're getting the same luxury slab appearance at a fraction of the weight, cost and installation time, ours click together with a tongue-and-groove system and go up with adhesive rather than mortar and a trowel. If budget or timeline is what's holding your project back, this is the easier, considerably cheaper way to land the same result.

Do StoneDesign™ panels need grout, and how do they handle mould over time?

None at all, and that's honestly the whole appeal. Panels click together with a tongue-and-groove system that forms its own watertight seal, so there are no grout lines sitting there waiting to collect grime, discolour or need regrouting in a year or two, one of the biggest reasons people move away from tiles in the first place. Because you're working with a sealed, waterproof surface rather than a porous grouted one, it naturally resists the mould and mildew build-up that tends to creep into grout lines in a bathroom over time. Silicone along the top, bottom and side perimeter during install is still what finishes the watertight system properly, so that step's worth doing right, even though the panel joins themselves take care of themselves.

Which StoneDesign™ finish should I choose, and are all colours priced the same?

Yes, all 12 StoneDesign finishes, including Travertine, Calacatta, Creme, Sandstone, Nero Marble, Grey Marble, Silver Marble, Arabescato, Grey Terrazo, Grey Quartz, Quartz and Tundra Stone, are priced exactly the same, so this one really comes down to which stone look feels right in your space, not budget. Lighter tones like Travertine or Creme have a way of opening up a smaller bathroom, while something darker like Nero Marble or Grey Terrazo makes more of a statement as a bold feature wall. Since these are designed to echo the veining and texture of real stone, a screen only tells you so much, order a couple of samples and hold them up in your actual lighting before deciding, or book a showroom visit if you're Sydney-based and want to see the whole range in person.

What are StoneDesign™ panels made from, and how realistic do they look?

They're a composite panel finished with a high-resolution printed surface that captures the depth, veining and mineral movement of real stone, marble or concrete, rather than being cut from an actual slab. It's remarkably convincing too, those subtle tonal shifts and texture variations read just like the real thing, while staying far lighter and easier to handle than an actual stone slab of the same size. A waterproof surface layer finishes it off, which is exactly what lets it live in wet areas without the ongoing sealing and maintenance real stone or grouted tile demands. If you're weighing this up against our waterproof timber-look range instead, SlatWall™ is the closest comparison, it really just comes down to which material look you're after, the installation approach is much the same either way.

How do you install StoneDesign™ panels?

Installation is refreshingly simple: saw the top of the panel to size, glue it to the wall with FastGrab adhesive (one sausage covers two panels), then click the tongue-and-groove edge into the next panel as you go, that click system seals itself, so there's no need to silicone between panels. They'll happily go straight over existing tiles, plasterboard or most sound, flat surfaces too, no professional tiler required. What does need silicone is the top, bottom and side perimeter of the installed area, that's the step that finishes off the watertight seal. Full step-by-step instructions live in our installation guide if you want the complete walkthrough.

Can StoneDesign™ panels be used outside the bathroom, like a living room or kitchen?

Absolutely, they're just as at home in dry spaces as wet ones. Beyond showers and bathrooms, StoneDesign panels turn up in kitchen splashbacks, living room feature walls, behind a TV unit, even cabinetry and utility rooms, anywhere you'd love the look of a stone slab without the weight or the price tag. In dry areas there's no waterproofing membrane requirement to worry about either, it's simply glued on and clicked into place the same way. A nice bit of flexibility if you love the stone look but want to use it somewhere the wet-area rules don't come into play.

How durable are StoneDesign™ panels day to day?

Built to last, and backed by Woodspace's standard 10 year warranty across the range. That click system at each join keeps the whole wall solid and resistant to movement once it's installed, and the surface itself is designed to shrug off everyday bathroom or kitchen life, splashes, steam, regular cleaning, without losing its good looks.

How do you clean and maintain StoneDesign™ panels?

About as easy as wall panels get. With no grout to scrub or discolour, a damp cloth wipes away everyday grime, soap scum and water spots without any special products needed. Steer clear of abrasive cleaners or scouring pads though, they can dull that printed finish, a mild cleaner and a soft cloth is really all it takes. Give the silicone along the top, bottom and side perimeter a check now and then, especially in a shower, and top it up at the first sign of wear, that's what keeps the whole wall watertight for the long haul, rather than anything to do with the panel surface itself.

Need assistance or a quote?

Contact Us

Unit 7, 78 Harley Crescent Condell Park 2200 (By Appointment)

Mon-Sat 9am - 5pm

Call Us Now
value-prop-icon

Local Aussie Company

Founded and designed in Sydney

value-prop-icon

Fast & flexible delivery

Arrives in days, not weeks

value-prop-icon

Sustainably made

Premium and recycled materials that don't cost the earth

value-prop-icon

10 year warranty

The most durable and premium build with Australia's longest warranty